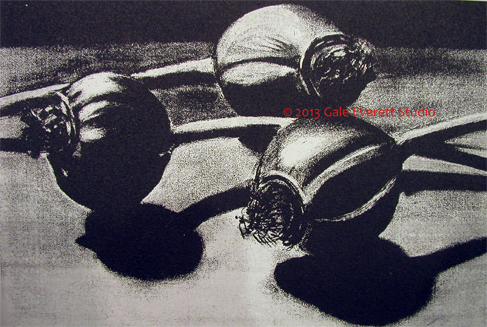
Pulling out an old print got me thinking about creating a new image. It’s been 11 years since I did any work using Polyester Plate Lithography. The above image Rosehips was created by photocopying (toner not ink) a charcoal drawing onto the plate. I won’t go into history and background of this process because you can learn it yourself by clicking on the link here. There is also a great YouTube out there for the visual type folks (just google polyester plate litho and it will show up.) For my experiment, I used permanent markers directly on the plate surface. The first thing to accomplish even before I could get started: cleaning up the studio and remove the cat bed and hair from the press and inking area! Nigel has now lost his sleeping station. Poor cat!

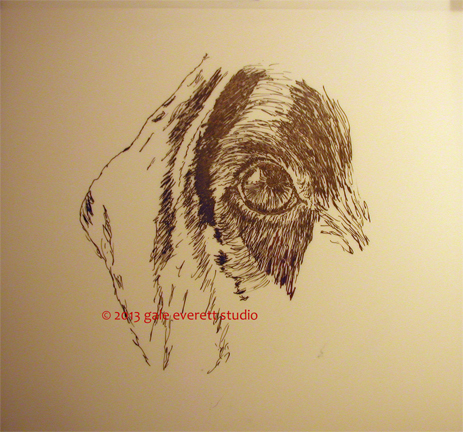
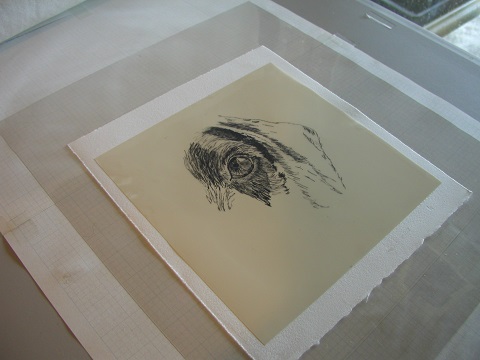
Poly plates look like sheets of frosted mylar and can be directly drawn on or photocopied to transfer an image. You can place a drawing under it and transfer your lines quite easily, especially over a light table which is what I did. I scanned, enlarged and reversed one of my Moby eye sketches and drew it on the plate. Below is the completed plate. One can use Sharpies (which I did a bit) or any other permanent waterproof marker (Pigma Micron pens were used quite a bit for this test). I think Sharpies grab the ink more quickly than the Micron pens. There are a wide variety of other techniques one can use to produce interesting lines and texture.
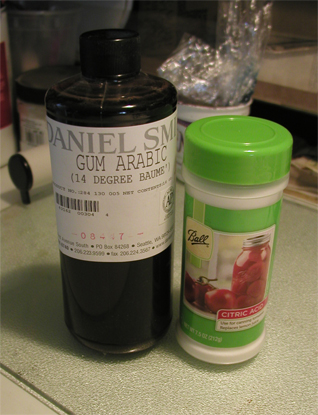
The plate surface is textured and the pens basically fill in the pores. To keep ink from sticking to the entire plate, one has to wet the surface to repel the ink. Oil and water don’t mix (hint: I used an oil based ink). The ink grabs to the sharpie lines and doesn’t attach to wet unmarked areas. 11 years ago, I used what was called a fountain solution to help wipe the plate in between inking. This time I tried a gum arabic and citric acid combination. My friend Carol swears you can just use straight water. I’ll have to try that next time. Less chemicals the better.
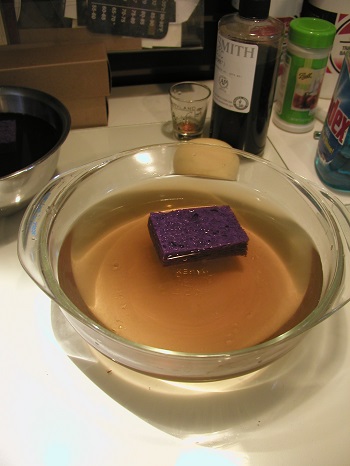
Next, I created a post of paper, mixed ink and got myself ready to print. The wipe solution was a shot of gum arabic with 1/2 tsp citric acid powder plus water. I chose to mix it in a glass bowl. In a separate bowl, I mixed a stronger solution of water and gum arabic to wipe away any smudges. Smudges do happen when the plate isn’t damp enough. It’s an interesting balancing act between wet and dry. A clean cellulose sponge was added into each bowl for wiping the plate.
I couldn’t take photos of the wipe and ink method since my hands were rather occupied with sponge and brayer. Basically I wiped my glass counter with the solution. Next, I placed the plate on top, wetted and wiped the image with a damp sponge then rolled on a pass of ink. Wipe again and ink, wipe again and ink until plate is loaded (but not too full!) Trial and error. I used damp Rives BFK white (and a couple of tan) paper. When ready to press, I placed the paper down first then placed the plate over top as seen below.
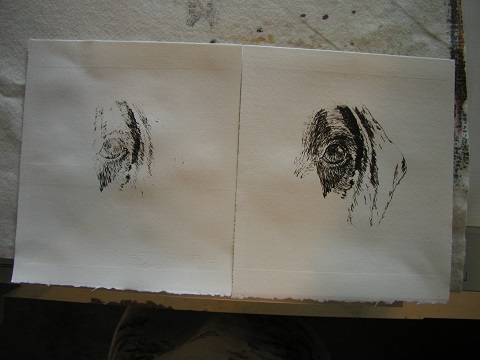
I used one sheet of newsprint and a cover sheet and one thin felt. Roll it through the press and voila! Not quite there! It takes several inking and printing to load the plate sufficiently to get a good image. Below are the first two attempts.
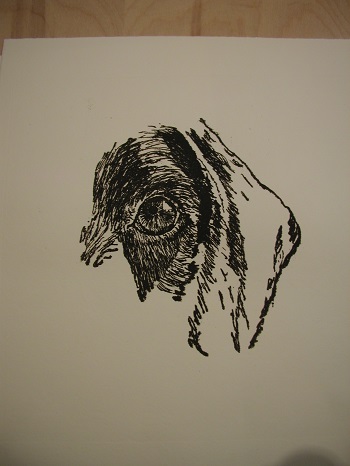
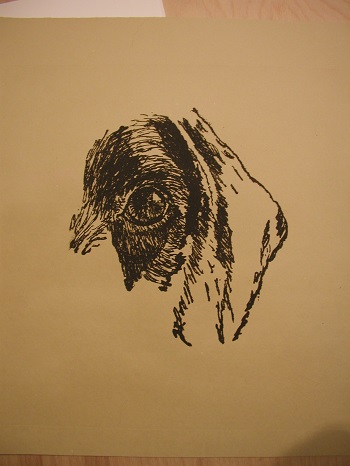
At some point things started having more issues. I was using a fairly runny etching ink that wasn’t stiff enough. It kept smearing around the surface as I wiped. I added some magnesium carb (well, I think that is what it was. It was in my “stash” unlabeled) and it seemed to help. When I purchased the used press, I received loads of extras , some of which I still don’t know what they are. Below are two of the finished prints for this starting round.
I discovered my thin lines became thicker and fuzzier as things went along, but that was ok. I’ll give this a try on another day with a different ink and see where things go. This was a great start to figuring things out again and loads of fun to use the press.

Enjoyed learning about this new technique. Thanks for sharing
There are so many techniques in the printing world! It was really good for me to step outside my crazylife and revisit a technique that was fun. Thanks for your comment! 🙂
Very nice – I especially like your poppy heads (or whatever they are!). I used to use Lithosketch paper plates and solution, but it has been discontinued, although I still have a bottle of the solution and a couple of plates. I love it because it was so easy to draw on, with waxy pencils, tuche or even ballpoint pen.
I remember creating a test plate using loads of different materials for mark creation. Might be time to create a new one and see where it leads.
🙂
Yes, I think so. I have a lot of printmaking materials, and my own press and they are very neglected at the moment!
Press neglect happens! It had been years since I had last used mine…. 🙂
That makes me feel better! I do feel guilty about the poor thing…
🙂
i’m not detecting any extra fuzziness; looks great. Glad you’re back at it.
Well, back at it for a little while. I’ll see how long the press bed and inking station can remain uncovered. 🙂
Reminds me a little of the gum arabic transfer prints I used to do. I used paper photocopies, sponged 50% gum arabic over them, rolled over the oil based ink, sponged again with the ga solution to clean up the white areas (ink stayed in the black areas) before passing it through the press in contact with the paper. Some interesting results, but learning what worked for you and what didn’t was trial and error.
Great post!
Thanks Mike!
I must give this a go – I haven’t heard of it before, thanks 🙂
It would be perfect for all your sketches!
😀